
Inquiry
Form loading...

How to Choose the Right Door Gasket?

Choosing the right Door Gasket starts with understanding what the door must seal against. A refrigerator, oven, vehicle, and exterior entry door face very different conditions. The wrong profile may leave gaps, resist closing, or wear out sooner than expected. Small details matter.

Begin with the existing gasket, if one is present. Check its shape, attachment method, width, and thickness. Measure the channel or mounting surface, not just the visible rubber. A few millimeters can affect how the door sits. Fit comes first, but it is not the only factor.

Material choice also depends on temperature, moisture, cleaning routines, and repeated use. Flexible elastomers suit many applications, yet no single material works everywhere. Review the product specifications and temperature range before ordering. If the door is warped or its hinges are loose, a new seal may not solve the problem. That part is easy to miss.

This guide explains how to compare gasket profiles, materials, and installation styles. It also covers practical checks, such as inspecting corners, testing compression, and confirming that the door closes evenly. Use manufacturer guidance when available, and assess the seal after installation. A simple paper-strip check can reveal uneven contact, though it is not a substitute for application-specific testing. Not always straightforward. Careful measurement and a realistic look at the door’s condition can help you choose a reliable fit without paying for features you do not need.
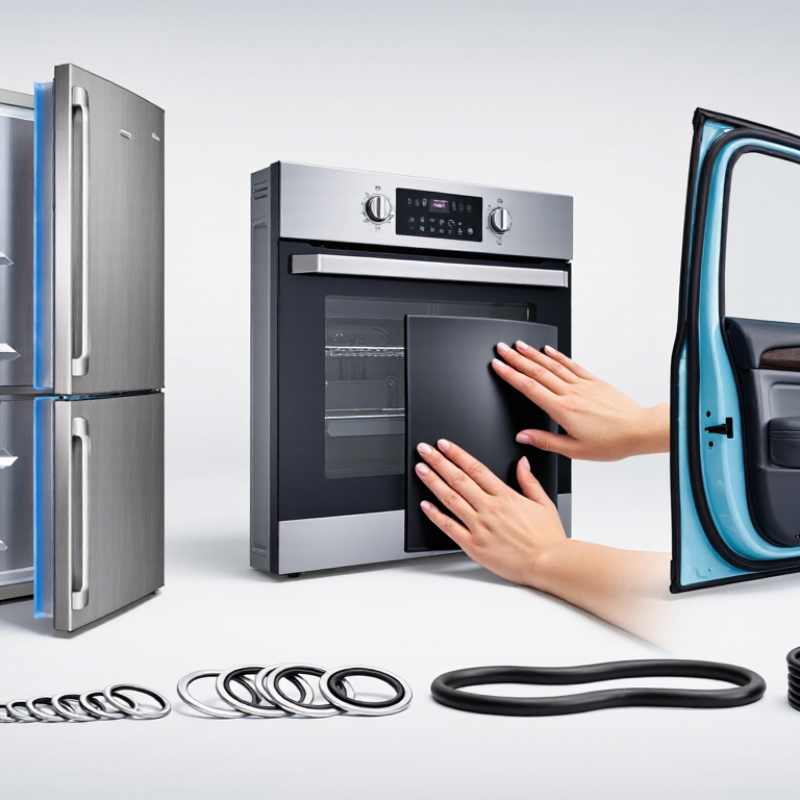
How to Choose the Right Door Gasket?

Understand the Function of a Door Gasket

How to Choose the Right Door Gasket?

Understand the Function of a Door Gasket

A door gasket is the flexible seal between a door and its frame. When compressed, it limits air movement, moisture entry, dust, and unwanted heat transfer. On a refrigerator or cold-room door, even a small gap can invite warm, humid air. That can make cooling equipment work harder and encourage condensation near the seal.

The International Institute of Refrigeration’s 2021 report, The Role of Refrigeration in the Global Economy, estimates that refrigeration uses about 17% of the world’s electricity. This figure covers refrigeration broadly; it does not measure gasket-related savings. Still, it shows why controlling avoidable heat gain matters. A gasket helps, but it cannot compensate for a misaligned door or damaged hinges.

Check the seal where it bends around corners. Look for cracks, flattened areas, or spots that feel stiff instead of springy. Close the door on a strip of paper; if it slides out easily, the seal may not be pressing evenly. This is only a rough check, not a performance test. A clean gasket can still leak. That part is easy to miss. Wipe away residue and inspect the door frame before choosing a replacement, because the right profile must match the gap and compression needs.

Identify the Door Type and Gasket Profile

Identify the door before choosing its gasket. A hinged entry door usually needs a flexible perimeter seal, while sliding doors require profiles that clear the track without dragging. Sectional garage doors often use a bottom retainer and side seals. Refrigerated doors need materials suited to low temperatures and frequent compression. The details matter.

Next, match the profile to the gap. Bulb and D-shaped seals can fill uneven spaces around a frame; P-shaped profiles may suit narrower channels. Measure the gap at several points with the door closed, since worn hinges or a bowed frame can make it vary. Check the retainer’s width and depth, too. A gasket that looks right may not seat securely. Small differences count.

Compression should close the gap without making the door difficult to latch. The U.S. Department of Energy’s Energy Saver guidance estimates that air leaks can account for 25–40% of heating and cooling energy use in a typical home. That makes a sound seal worthwhile, but the figure is not a promise of savings for any one door. Inspect the existing seal for flattened corners, tears, and light showing through. A paper-strip test can help, though it is not precise. Measuring twice is less glamorous, but useful.

How to Choose the Right Door Gasket? - Identify the Door Type and Gasket Profile

Door Type Where to Check Common Gasket Profile Typical Material Selection Tips
Refrigerator or freezer door On the door perimeter; many household models use a gasket retained in a molded channel. Magnetic bulb or magnetic multi-lip profile Flexible PVC, TPE, or silicone, depending on appliance design and temperature range Match the original cross-section, dimensions, and magnetic insert layout. Check that the door closes evenly and the gasket is not twisted.
Residential hinged entry door Along the jamb stop, the door edge, or a routed groove in the frame. Compression bulb, kerf-in, or adhesive-backed strip EPDM, silicone, or flexible foam Identify whether the seal is fitted into a kerf or attached to a flat surface. Choose a profile that compresses without preventing the latch from engaging.
Commercial storefront door At the meeting stiles, head, jambs, and threshold of the frame. Pile weatherstrip, fin seal, or replaceable glazing gasket Polypropylene pile, EPDM, or PVC Determine whether the part seals a moving door edge or holds glass in a frame. Measure the existing channel and check the door manufacturer's hardware specifications.
Sliding patio door Between the moving panel and frame, and where the two panels meet. Fin, pile, or brush seal Polypropylene pile or flexible polymer Check the backing width, pile height, and fin orientation. The seal should reduce drafts while allowing the panel to slide freely.
Garage door At the bottom edge and, depending on the system, along the side and top jambs. U-shaped astragal, bulb seal, or stop-mounted compression seal EPDM, PVC, or other weather-resistant elastomer For a bottom seal, match the retainer shape and width. Confirm that the closed door contacts the floor evenly without excessive compression.
Fire-rated door In the frame or door edge, as specified for the listed door assembly. Intumescent strip, sometimes combined with a smoke seal Fire-rated intumescent material with a compatible carrier Use only a seal approved for the specific door assembly and installation. Do not replace or modify components without checking the applicable listing and local requirements.
Industrial or access-panel door Around the panel perimeter or inside a clamping channel. D-shaped, P-shaped, hollow bulb, or solid strip EPDM, silicone, or nitrile rubber, selected for the environment Match the groove or channel dimensions and consider exposure to heat, oil, water, or cleaning chemicals. Hollow profiles generally compress more easily than solid strips.
Before ordering: Remove or inspect a short section of the existing seal where possible. Measure its overall height, width, base or stem dimensions, and compression area; then compare the cross-section and attachment method with the door or frame specifications.

Measure the Existing Gasket and Mounting Channel

Before ordering a replacement door gasket, inspect the old one and the channel that holds it. A gasket can flatten, stretch, or shrink with age, so one quick measurement may not tell the whole story. Small differences matter.

Measure the gasket’s width and height without pulling it tight. If it has a magnetic bulb or flexible lip, note its shape and position. Take measurements at several points, especially near corners and along the bottom edge, where wear is often visible. Record the results, and photograph the gasket’s cross-section beside a ruler. A clear photo can help distinguish profiles that look similar from the front.

Next, check the mounting channel. Measure its opening and depth, and note whether the gasket presses in, slides into a track, or attaches with screws. Remove loose dirt gently so residue does not distort your measurements. Don’t force a stiff gasket out; its shape may change. If the old seal is badly damaged, compare the channel dimensions with the door’s specifications rather than trusting the worn gasket alone. I’ve found this step easy to rush, and it is also where a nearly-right replacement can turn into a poor fit.

How to Choose the Right Door Gasket: Measure the Gasket and Mounting Channel

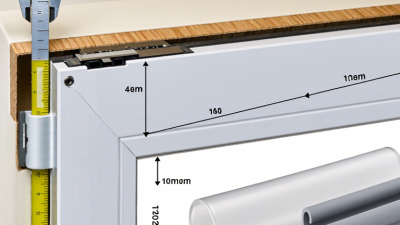
These illustrative sample measurements show why it helps to measure in several places: gasket and channel dimensions can vary along a door. Measure the gasket’s overall width and height, plus the channel’s opening width and depth. Compare the measurements with the replacement gasket’s profile and retention feature before choosing a part. The values shown are examples, not a sizing standard.

Match the Material to Environmental Conditions

A door gasket should match the conditions around the door, not just its shape. For outdoor doors, EPDM often handles rain, sunlight, and ozone well. In cold rooms or areas with wide temperature swings, check the material’s rated temperature range before buying. Silicone can remain flexible across a broad range, but it may not suit every high-wear edge. It depends on the door and how often it moves.

Tips: Check the gasket’s material data sheet for temperature and chemical compatibility. If cleaners, oils, or grease may touch it, confirm resistance rather than guessing. A small sample can reveal whether the seal fits the channel and compresses evenly.

Look closely at the actual environment. A damp exterior entrance needs weather resistance, while a workshop door may face oil and frequent abrasion. Nitrile can suit some oil-exposed settings, but outdoor exposure may change the choice. Measure the gap with the door closed, then compare the gasket’s recommended compression. Too little compression can leave drafts; too much may strain the seal or make the door hard to latch. Material charts help, but they do not capture every installation. That part is worth checking in person.

Check Compatibility Before Selecting a Replacement

How to Choose the Right Door Gasket?

Check Compatibility Before Selecting a Replacement

A door gasket may look universal, but its fit is not. Check the appliance model and serial number, then compare the replacement’s profile, mounting method, and overall dimensions. A gasket that is only slightly too large can bunch at the corners; one that is too small may leave a narrow leak near the hinge. Also confirm that the replacement includes the correct magnetic insert or retaining strip. Service parts catalogs and installation sheets are more reliable than appearance alone.

ENERGY STAR reports that certified refrigerators use about 9% less energy than models meeting the federal minimum standard. That figure applies to the appliance, not to gasket replacement, but it shows why maintaining a well-sealed door matters. Before ordering, inspect the old gasket for its attachment style and check the frame for dents or residue. A simple paper-strip test can help: close the door on a strip and gently pull. If it slides out easily at several points, the seal may be weak. Still, a loose strip does not prove the gasket is the only problem.

Fit it carefully. A compatible gasket should sit evenly, with no twisted corners or visible gaps. Let the door close, then check the seal again after the material has settled. I would not assume a new part fixes every leak; a warped door can defeat a perfect match.