2026 How to Use Silicone Rubber for Your DIY Projects?
Silicone rubber is a versatile material widely used in DIY projects. According to a report by Research and Markets, the silicone rubber market is projected to reach $10.5 billion by 2026. This growth highlights the material's increasing popularity among hobbyists and professionals alike.
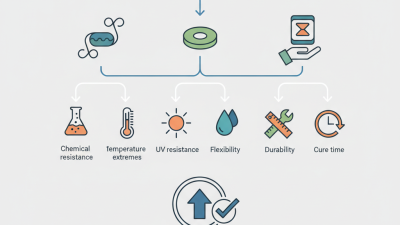
Industry expert Dr. Emily Chen states, "Silicone rubber offers flexibility and durability unmatched by other materials." It can withstand extreme temperatures and is resistant to various chemicals. These qualities make it ideal for a range of applications, from crafting to more complex engineering tasks. However, not all DIYers fully understand how to utilize this unique material effectively.
One must be mindful while working with silicone rubber. The curing process can be tricky, requiring precise temperatures and timings. Mistakes can lead to subpar results and wasted materials. Engaging in DIY projects with silicone rubber demands attention to detail. Embracing the learning curve is essential for successful outcomes.

Introduction to Silicone Rubber for DIY Projects
Silicone rubber is a fantastic material for DIY projects. It offers flexibility, durability, and resistance to heat. This versatility makes it suitable for various applications, from sealing to crafting unique shapes. You can easily buy silicone rubber in sheets, tubes, or liquid form. Each type serves different needs. For example, silicone sheets work well for making molds, while liquid silicone allows for detailed designs.
When using silicone rubber, preparation is key. Ensure your workspace is clean. Measure your required amount accurately. Working with silicone can be tricky due to its sticky nature. It can mess up your tools if not managed well. Always have a backup plan if mistakes happen, like messy edges or bubbling. Experimenting is essential. You may need to adjust your techniques along the way. Not everything will turn out perfect on the first try. Embrace the learning process. Each project is a chance to refine your skills.
Silicone Rubber Usage in DIY Projects (2026)
This chart displays the percentage of DIY enthusiasts using silicone rubber for various applications in their projects, highlighting its growing popularity in different areas.
Types of Silicone Rubber and Their Applications
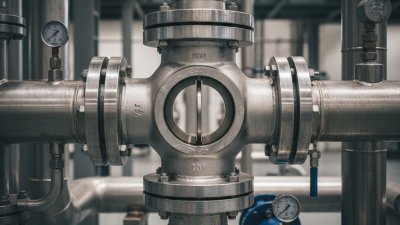
Silicone rubber comes in various types, serving multiple applications. It is a versatile material widely used in DIY projects. The most common types are high-temperature silicone, silicone molds, and silicone sealants. High-temperature silicone, for example, can withstand extreme conditions. This makes it ideal for automotive and industrial uses.
Silicone molds are popular in crafting and baking. They provide flexibility and ease of release. According to a recent market report, the silicone market is projected to reach $30 billion by 2025. This is due to its unique properties and wide applications. However, working with silicone can be tricky. Proper care is needed to avoid issues like sticking or tearing.
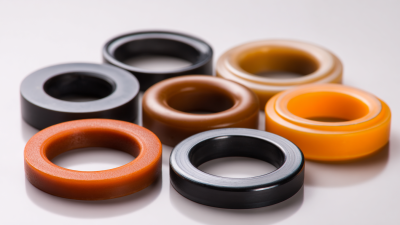
Silicone sealants serve as reliable adhesives and gaskets. They are water-resistant and durable. Many DIY enthusiasts rely on these sealants for home repairs. Yet, finding the right type for your project can be challenging. Mixing different silicone types may lead to unexpected results. Careful consideration of your material's compatibility is vital. Experimentation is part of the process, but it can lead to unintended challenges.
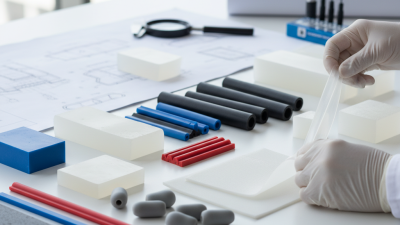
Essential Tools and Materials for Working with Silicone Rubber
When working with silicone rubber for DIY projects, having the right tools and materials is essential. Silicone rubber is versatile and widely used due to its durability and elasticity. According to market reports, the global silicone market was valued at approximately $15 billion in 2022 and is expected to grow steadily. This growth highlights its popularity and usefulness in various applications.
Essential tools include mixing containers, spatulas, and molds. High-quality molds can significantly influence the final outcome of your project. Consider using silicone molds for a flexible and easy demolding process. Additionally, a digital scale ensures accurate measurements when mixing silicone components. Keep in mind that improper ratios can lead to an unsatisfactory cure.
Tips: Always work in a well-ventilated area. This ensures your comfort and safety while handling chemicals. It’s also beneficial to wear gloves to protect your hands from stickiness. After curing, some projects might have imperfections. Reflect on these aspects and think about what adjustments you can make in future projects. Awareness of these issues leads to better results.
Step-by-Step Guide to Creating Silicone Rubber Molds
Creating silicone rubber molds can be an exciting DIY venture. It allows for endless possibilities. You'll need silicone rubber, a mixing container, and a casting object. Choose a simple object for your first try. The process can be tricky, but it’s part of the fun.
Begin by preparing your workspace. Ensure it’s clean and well-ventilated. Mix the silicone rubber according to the instructions. This is where attention to detail matters. Pour slowly to minimize bubbles. Using a mold release agent can help, but it’s not always perfect. Sometimes, your mold will stick, and you’ll have to start over. That’s okay; it’s a learning experience.
Once poured, let the silicone cure completely. This could take several hours. Patience is key here. Sometimes, the mold might not turn out as expected. It may not pick up all the details. Take notes on what went wrong. Adjust your technique for the next project. Each attempt teaches you something new about the material. Embrace the process, even the flaws, to improve your skills.
Tips for Curing and Finishing Your Silicone Rubber Projects
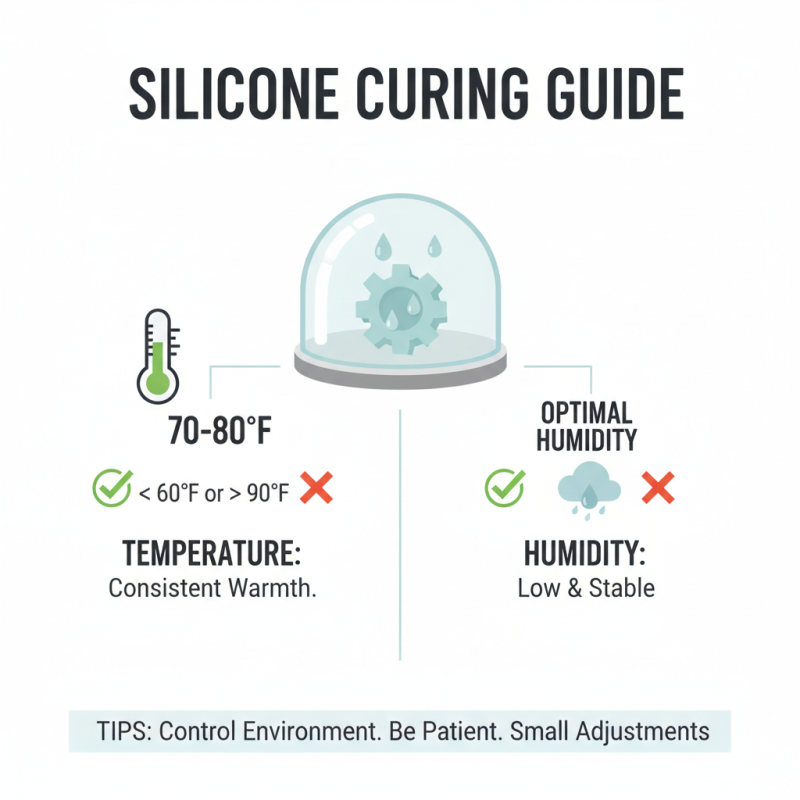
Curing silicone rubber properly is crucial for a successful DIY project. The process can be tricky, and having a consistent environment helps. Optimal temperature is around 70°F to 80°F. Humidity levels also matter; too much moisture can affect curing time. Small adjustments can lead to better results.
After curing, finishing your silicone project is the next step. Trimming excess material sounds simple, but precision is vital. A sharp blade gives cleaner edges. Sanding can improve texture, but it risks damaging the surface if you’re not careful. It’s easy to oversand, which is something to reflect on during your process.
Keep in mind that working with silicone may yield unexpected results. Sometimes, mixing ratios might not be perfect, leading to uneven curing. Knowing how to adjust and troubleshoot can save your project. Don’t hesitate to try multiple approaches. Embrace the learning curve; each attempt teaches something new.